2.2.1. Connect to cVus
Go to Configure > cVus.
Click Add cVu.
To add a cVu with Auth Type: User Login follow step 3a. To add a cVu with Auth Type: OAuth follow step 3b.
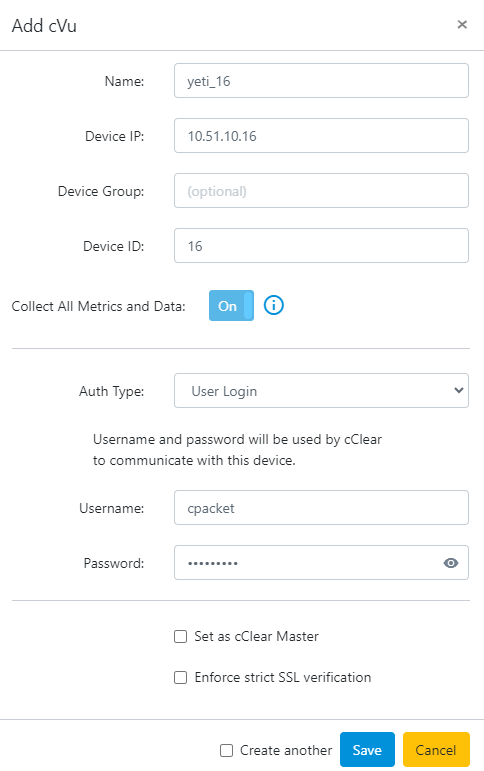
For Auth Type, select User Login.
Enter the cVu IP address and login credentials, then click Connect:

Enter the cVu name and device ID, then click Save:
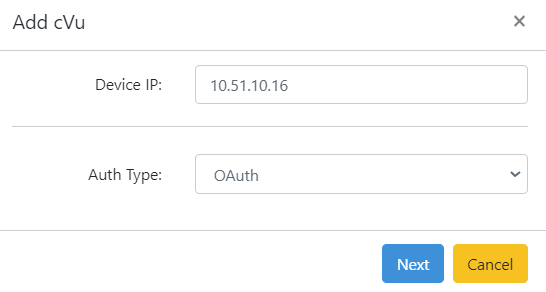
For Auth Type, select OAuth.
Enter the cVu IP address and click Next.
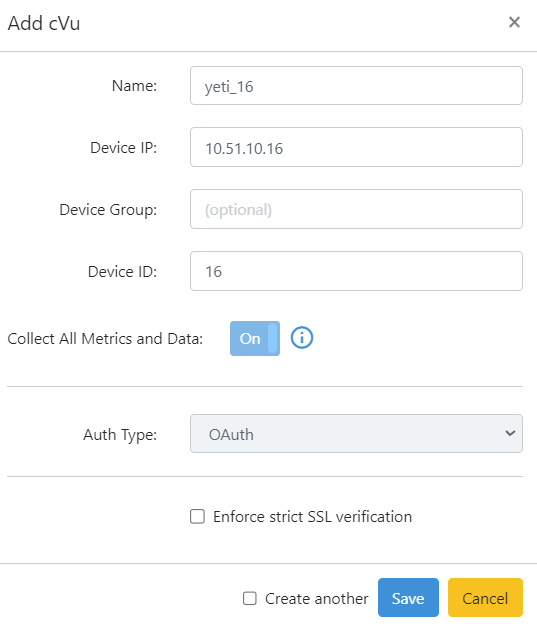
Enter the cVu name and device ID, then click Save.
On the cVu device, go to Config/Status > User Mgmt > OAuth2 and approve the pending access request from cClear.
The cVu must approve the request before it can connect to cClear. If the request is not approved, the cVu status remains Not Connected.
Verify that the cVu status in cClear shows the connection as established.
After adding cVus, cClear displays a table of connected cVu devices. The table shows the device serial number, software version, and connection status. From this page, you can modify or remove cVu devices.
When a cVu is added, cClear automatically configures cVu metadata push parameters, including the cClear device name, hostname, and UDP push settings.
Once devices are added, cClear confirms time synchronization status across devices and lets you manage synchronization from cClear.

cVu metrics collection
After cVus are connected, cClear displays them in a table on the cVus page. The Metrics column controls whether cClear collects port statistics from each cVu.
Metrics collection is enabled by default. You can turn it off if you want to reduce management traffic or if you do not plan to view cVu health metrics. When metrics are enabled for a cVu, cClear collects port statistics from the device and makes them available in cClear dashboards. On the Observability page, the cVus panel displays throughput only for cVus with metrics enabled.
To change metrics collection for a cVu, set the Metrics toggle to On or Off.